

Windows installer
Installing and uninstalling frePPLe is straightforward. After accepting the license agreement, the installer will guide you to select:
The components to install
The installation directory
The license file, applicable only for the Enterprise Edition
The language and database connection parameters
Whether or not to register the server as a service
The installer is 64-bit and has been tested on Windows 7, Windows 8 and Windows 10.
Start the installer
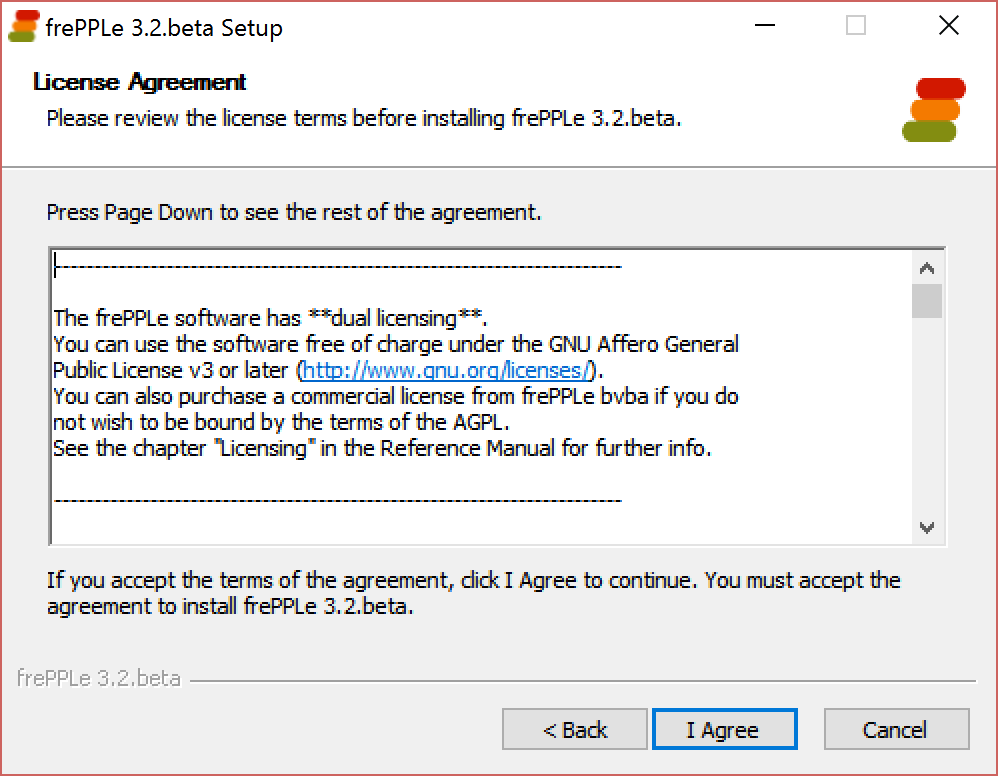
Accept the license agreement
FrePPLe is released with a dual license: you can choose either to apply the GNU Affero General Public License (aka AGPL) or to buy a commercial license.
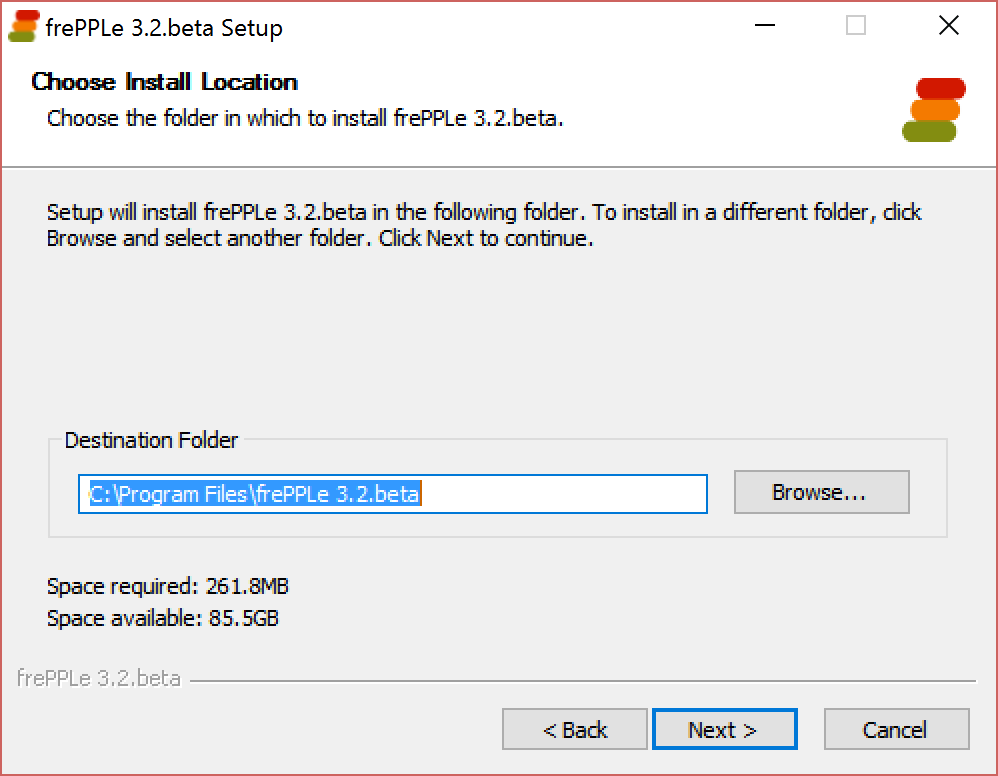
Select the installation directory
A different location is selected depending on the user name.
Select the license file
The Enterprise Edition requires a license file to be activated. You get the license file when you register your copy on the support section of the website.
The license file contains the customer name, validity date and licensed modules.

Select the components to install
Optional extra components can be enabled.

Install and configure the PostgreSQL database.
PostgreSQL 10 or higher is required by frePPLe. You can choose to use either 1) the postgreSQL included with frePPLe, or 2) install and configure PostgreSQL yourself (advanced users only).
If you choose to download and install PostgreSQL manually please follow these instructions:
Cancel the frePPLe installer and restart it again after the postgreSQL installation is done.
Download and run the postgreSQL installer.
- Use the PgAdmin administration tool to create a login role for frePPLe.If you intend to use the default login role “postgres”, you can skip this step.See http://www.postgresqltutorial.com/postgresql-roles/ for detailed steps.
- Use the PgAdmin administration tool to create a database for frePPLe.Make sure to assign the login role created in the previous step as the owner.See http://www.postgresqltutorial.com/postgresql-create-database/ for detailed steps.
- Database connection parametersIf you are upgrading frePPLe you should copy the following from the old custom/djangosettings.py to the new custom/djangosettings.py
- Default language for the user interface
- Database connection parameters
Advanced administrators can further fine-tune the database instance.For a simple trial installation, you want to skip this.- FrePPLe assumes that the database uses UTF-8 encoding.FrePPLe needs the following settings for its database connections. If these values are configured as default for the database (in the file postgresql.conf) or the database role (using the ‘alter role’ command), a small performance optimization is achieved:
client_encoding: 'UTF8',
default_transaction_isolation: 'read committed',
timezone: 'UTC' when USE_TZ is True, value of TIME_ZONE otherwise.
- The default configuration of PostgreSQL is not configured right for intensive use.We highly recommend using the pgtune http://pgtune.leopard.in.ua/ to optimize the configuration for your hardware.
Select the installation parameters
If you chose to install the database from the frePPLe installer, two types of parameters will be specified during the installation:
Default language for the user interface
Database connection parameters
You will not be able to the next screen when a test connection to the database fails, or if you followed the regular install.
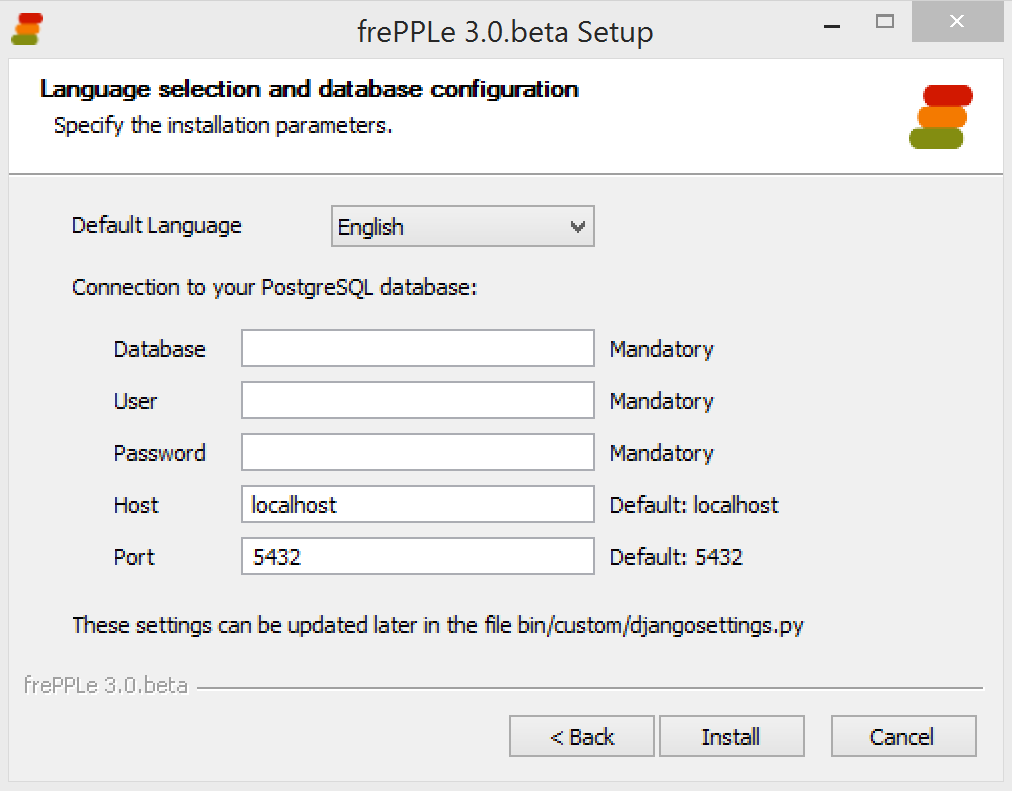
Your selections are saved in the file custom/djangosettings.py. The file can later be edited with a text editor.
Installation
During the actual installation you can see the list of installed files, and monitor the creation of the database schema.
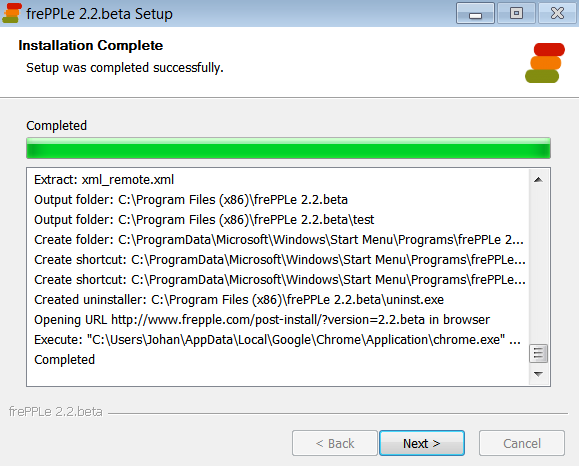
Finish
At the end of the installation you can choose to start the server immediately.
For a test or development installation it is recommended to run the server as a system tray application.
For an installation in production mode AND when you have administrator rights on your computer, you can chose to register and start a service instead (currently in development).

Start the server
FrePPLe’s user interface is web-based. You need to start the web server first in one of the following ways:
Either it was already started at the last step of the installation process.
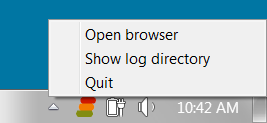
Select “Run frePPLe server” from the program menu to start the web server in the system tray. If you’re new to frePPLe, this method is preferred.
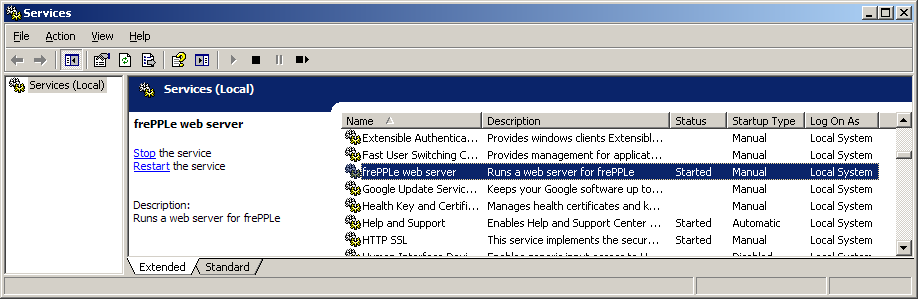
Select “Start Service” from the program menu or the Windows service manager. This option is available only when you choose to register a service during the installation.
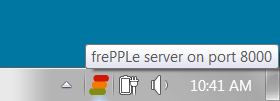
FrePPLe in the system tray:
FrePPLe as a service:
Tip
If you want to run frePPLe as a service and you use the PostgreSQL database provided by the installer, you need to update the service such that it runs with the same log on as the user that installed frePPLe.
By default the service is registered to run using the local system account, which will not allow it to connect to the PostgreSQL database. You’ll get a server 500 error message in this case.
Open your browser http://localhost:8000/
You can type in the URL manually or double click the system tray icon.
An administrator user account is created initially: admin with password admin.
Tip
Change the password of the admin user as soon as possible.
Leaving the default password may be convenient, but is considered a security risk.
Tip
Multiple versions of frePPLe can be installed on the same machine, but not when using the PostgreSQL database included with the installer.
Multiple installations of the same release can’t. If you’ld need such a setup, it is better to install once and create different copies of the custom folder. Each copy will get need different parameter file djangosettings.py.